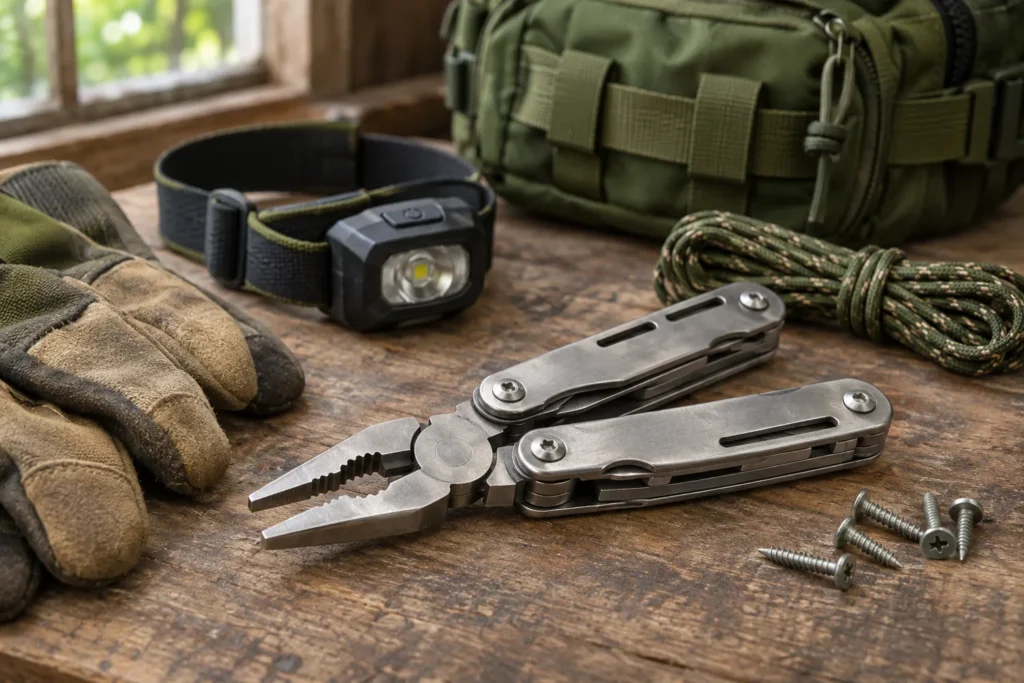
A survival multi-tool is a compact backup for ordinary, low-risk repairs. A multi-tool is handy for the little jobs that turn into bigger annoyances when the lights go out or your regular tools are out of reach. Keep one as a backup, not as your entire toolbox. Pliers can grip a stubborn fastener. A screwdriver can tighten a loose cabinet hinge. Scissors can cut tape or a bandage wrapper. A can opener can make stored food usable when the kitchen drawer is out of reach.
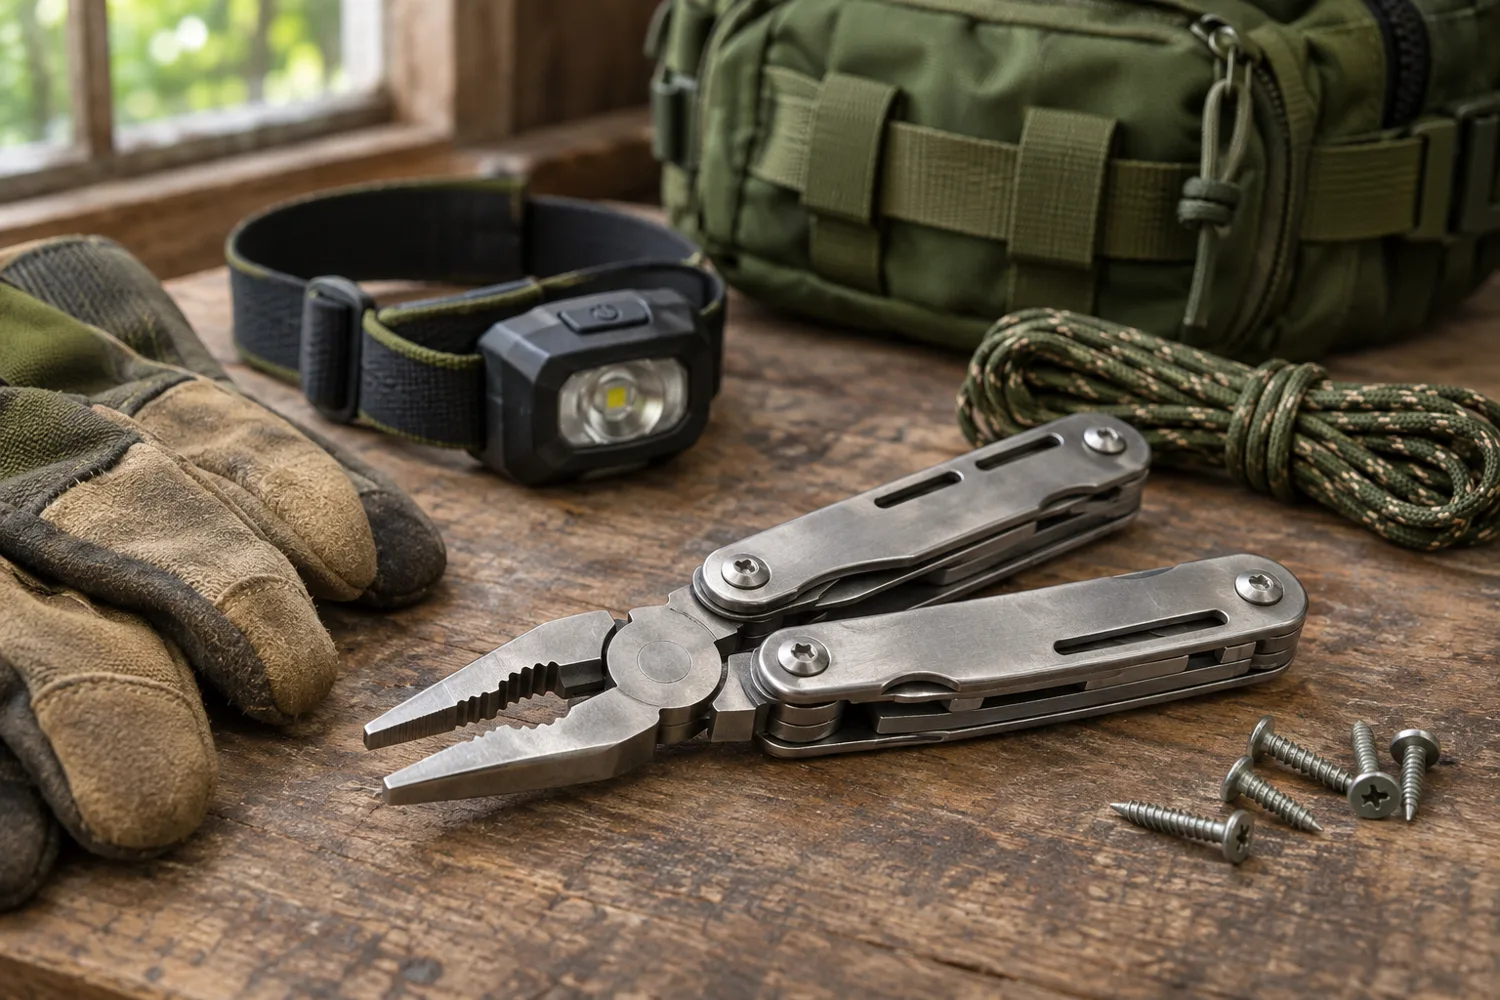
That convenience has limits. A multi-tool cannot replace a proper tool kit or first-aid supplies. Forget the advertised number of attachments for a moment. Ask what you actually need to do—and whether this tool lets you do it safely.
Choose a Survival Multi-Tool by the Jobs It Must Do
Before choosing a survival multi-tool, write down the tasks you would actually attempt in three settings: at home during an outage, beside a vehicle, and while carrying an evacuation bag. Now cross off anything that calls for a dedicated tool, a safe work area you do not have, or someone with the right training. What remains is your shopping list for useful attachments.
At home, a compact set of proper screwdrivers, adjustable wrench, utility knife, and work gloves may outperform a multi-tool. The multi-tool is the item you grab when the larger tools are in the garage, the lights are out, or you need one quick adjustment.
In a vehicle, pliers, a driver, scissors, and a small cutting edge can help with minor noncritical tasks such as trimming a loose strap or removing a splinter from gear. They cannot make roadside work safe beside traffic, fix a damaged brake line, or justify touching a hot engine. Move to a safe location and call for help when the job exceeds your equipment or experience.
In an evacuation bag, weight and accessibility matter. A sturdy tool with five useful functions may be more valuable than a bulky model with twenty awkward ones. Your destination and transportation rules matter, too. A bladed tool that is sensible in a home kit may be prohibited in an airplane carry-on.
The Functions Worth Examining
Pliers: Look for jaws that meet evenly, a pivot without excessive play, and handles you can squeeze without sharp edges digging into your palm. Needle-nose jaws are useful for small objects; they are not a replacement for insulated electrical tools or heavy-duty gripping equipment.
Screwdrivers: A driver that reaches the screw head and fits correctly is more important than a long bit list. A loose-fitting bit can strip the fastener or slip into your hand. Test the common screw types in your home and vehicle accessories before deciding the tool covers them.
Scissors: For tape, packaging, thread, and light fabric, good scissors can be more controlled than a knife. Test them on ordinary materials. Do not assume they can cut thick cord, metal, or medical dressings cleanly. If cutting clothing or dressings is a likely first-aid task, keep proper trauma shears in the first-aid kit rather than relying on the multi-tool.
Knife blade: A sharp blade is useful for controlled cutting, but it creates a real injury risk when the handle is awkward or the lock is unreliable. Keep fingers out of the blade path, cut away from your body, and close the blade before passing the tool to someone else. Never use a knife as a pry bar.
Can opener: If your emergency food includes cans without pull tabs, confirm the opener works on the actual cans you store. If it cannot catch the rim of a can you actually stock, it is not much use in your emergency kit.
Saw, file, awl, and specialty features: These can be useful for specific jobs, but small folding versions have limits. A short saw is slow on thick wood; an awl can puncture your hand if the workpiece shifts. Do not pay extra for attachments you cannot name a realistic use for.
Test Your Survival Multi-Tool Before an Emergency
First, open every implement with dry hands and then with work gloves. If an attachment is nearly impossible to access without a fingernail, imagine trying it in poor light.
Second, check the lock and handle geometry. Some blades lock; some do not. Some tools fold in a way that can pinch your fingers under load. Read the manufacturer's instructions and practice opening and closing each implement safely.
Third, perform ordinary, low-risk tasks at home: tighten a screw in scrap wood, cut a piece of cord on a stable work surface, open a practice can, and grip a loose nut on an unpowered item. Check whether the handles remain comfortable and the implements stay secure. The point is to learn whether it works in your hands, not to see how much punishment it can survive.
Fourth, inspect it afterward. Look for a loose pivot, chipped cutting edge, bent driver, or corrosion. A tool that fails an easy rehearsal should not be trusted for a difficult emergency.
What a Multi-Tool Must Never Become
Do not use an ordinary multi-tool on energized wiring. Most are not insulated or rated for electrical work. During an outage, a circuit can still be energized by a generator, battery inverter, or restored utility service. Leave electrical diagnosis and repair to qualified people. Review OSHA’s electrical hazard guidance for the risks of shock, fire, and improper equipment use.
Do not use it to shut off gas unless you know the correct procedure and have a suitable tool. If you smell gas or suspect a leak, leave the area, avoid switches and flames, and contact the utility or emergency services from a safe location. Do not attempt improvised repairs.
Do not use a multi-tool to force a door, lift debris, cut a seat belt while the vehicle is unstable, or perform a rescue task beyond your training. A dedicated emergency cutter or appropriate rescue equipment may be safer for a specific need. Your first job is to avoid creating another casualty.
And do not confuse carrying a blade with permission to carry it everywhere. Rules vary by location and transport. For U.S. air travel, check the current TSA “What Can I Bring?” guidance before packing. Check the entry for your exact tool and the current airline and destination rules; do not assume a compact tool is permitted.
One Practical Example: A Power Outage at Home
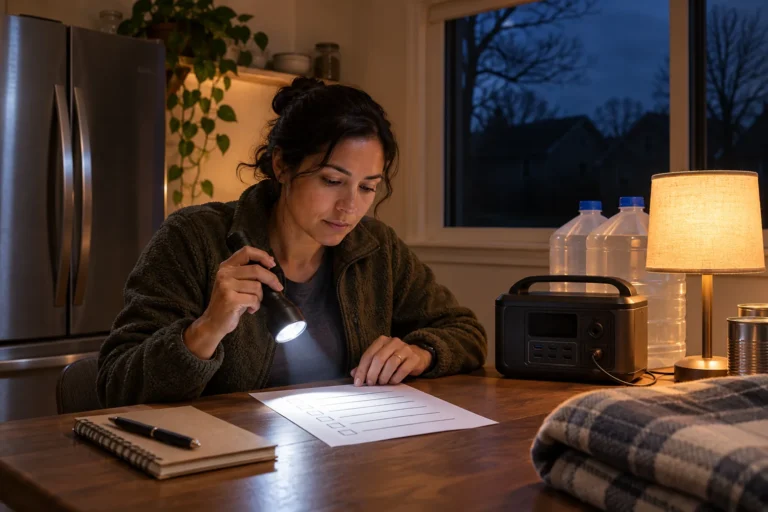
The power goes out at dusk. You need to find a flashlight, secure a loose cabinet latch, and open a can of food. A multi-tool with a working driver and can opener can help with the last two tasks. It cannot replace the flashlight, and it does nothing to make a damaged electrical panel safe.
There is the dividing line: use the tool for the small job it can handle. Do not turn a loose latch into an excuse to work inside an electrical panel.
Build a Small Tool System Around It
A good household emergency setup often includes a survival multi-tool plus a flashlight or headlamp, work gloves, a proper adjustable wrench, and a few correctly sized drivers. Add items for actual household needs rather than copying a giant gear list. Use your emergency-kit maintenance schedule to inspect tools and lighting. If you rely on canned food, test the opener. If you live in an apartment, prioritize accessible tools for safe minor repairs rather than equipment for utility work you should not perform.
Store the tool where you can find it in the dark. Keep it dry, wipe dirt from pivots, and follow manufacturer guidance for cleaning and lubrication. If a blade becomes dull or damaged, service or replace it safely. Keep sharp tools secured from children.
Choose Based on a Job List
Write down five likely minor tasks for your home, car, or travel kit. Then check whether the tool performs those jobs comfortably. A high price and a famous brand do not prove the tool fits your hand or your work. Neither does a huge attachment count.
If you already own a serviceable survival multi-tool, test it before shopping. If it handles your real tasks, keep it. Check your emergency water storage before spending the budget on more gear. A reliable headlamp or more stored water may do more for your household than another shiny tool. If it fails a needed task, identify that specific failure before choosing a replacement.
Key Takeaways
A multi-tool is a compact backup for small, low-risk jobs—not a replacement for dedicated tools or trained help. Choose pliers, drivers, scissors, blade, and opener based on actual tasks. Test the tool before an emergency, and respect its mechanical and safety limits. Check local and transportation restrictions before carrying one.
Step-by-Step Actions
- List five realistic minor tasks for the location where the tool will live.
- Compare the needed functions with the implements on your current tool or a candidate model.
- Practice opening, locking, using, and closing each needed implement safely.
- Test the tool on ordinary, low-risk materials and inspect it for damage.
- Pair it with missing essentials such as lighting, gloves, and dedicated tools.
- Store it accessibly, maintain it, and review carry restrictions before travel.
Checklist
- The tool fits the jobs I actually expect.
- I can open and close the needed implements without struggling.
- The blade and other attachments are secure and undamaged.
- I tested the driver, scissors, pliers, and opener that I intend to rely on.
- I know which jobs require a dedicated tool or professional help.
- I have suitable lighting and gloves nearby.
- The tool is stored dry, accessible, and away from children.
- I checked applicable carry and travel rules.
Before traveling, consult the TSA What Can I Bring? directory and your airline’s current baggage rules.