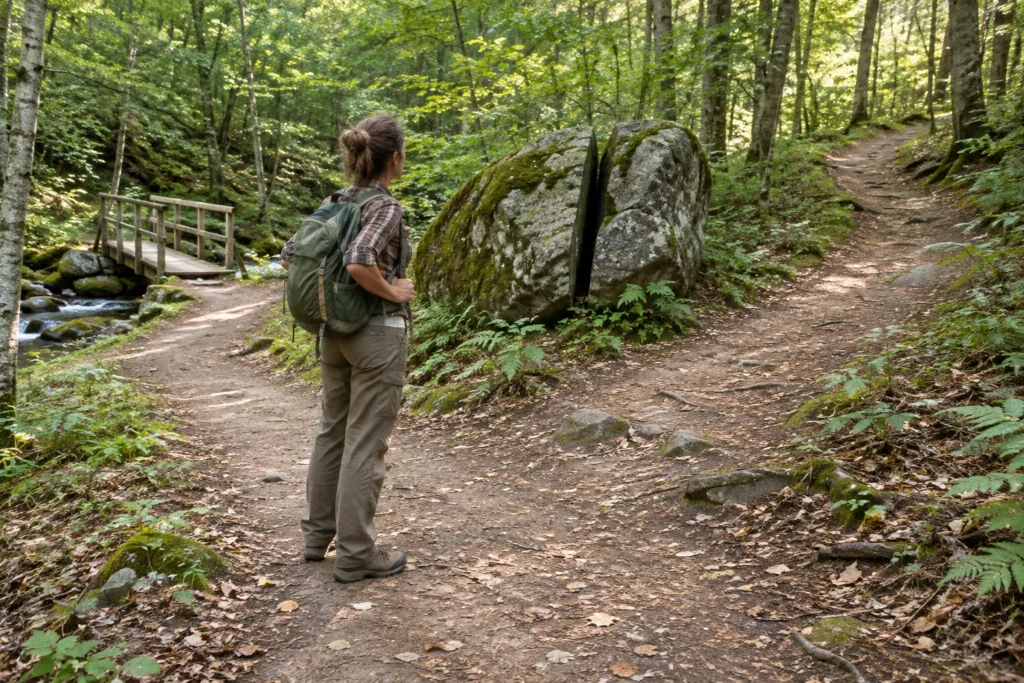
Navigation without tools depends on careful observation, recognizable routes, and knowing when to stop rather than guessing a direction.
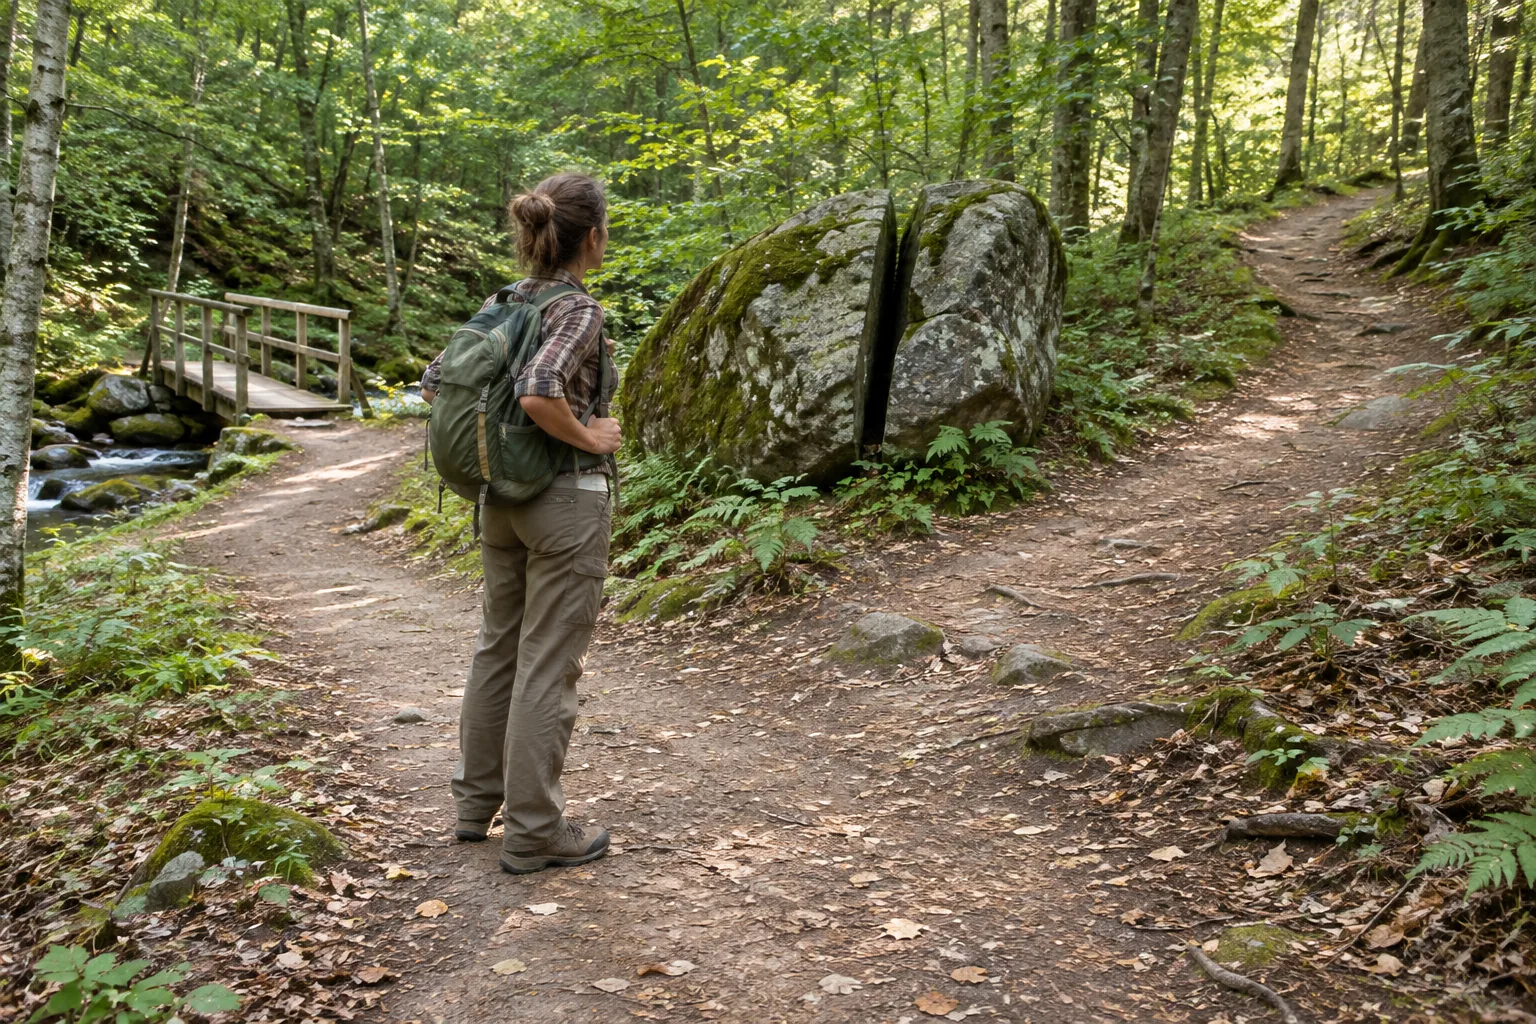
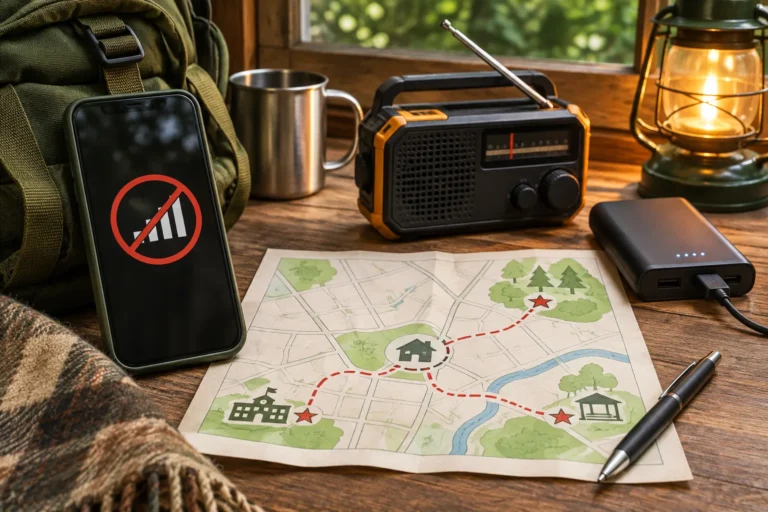
Your phone dies halfway through a hike. The trail is still under your feet, but the blue dot is gone. That is a problem you can manage. Walking off the trail because you think north must be somewhere over the ridge is how you turn it into a much bigger one. Start with what you know for certain: where you last recognized the route, what landmarks you passed, and whether you can safely follow that same route back.
A dead phone and being lost are not the same emergency. If you still know the trail, you have something to work with. If you no longer know where you are, every speculative turn may put more ground between you and the last place someone could look for you. Learning to navigate by observation is useful; carrying a map and compass, and learning them beforehand, is still the better plan.
Navigation Without Tools Starts With Knowing When to Stop
Suppose you leave a marked trail to look at a stream. Ten minutes later, the slope looks different, the trees look alike, and you cannot find the trail. The tempting response is to keep walking until something familiar appears. That can turn a small mistake into hours of travel in the wrong direction.
Stop now, before the mistake grows legs. Where were you last absolutely sure of your position? Maybe it was a signed fork, a footbridge, or the bend where the trail ran beside a stone wall. Can you actually see that point, or trace a short, unmistakable route back to it? If the answer is no, you do not have a return route yet. You have a guess. Check the weather, the remaining daylight, and how everyone is holding up before making another move.
The National Park Service outdoor emergency plan advises stopping to assess your situation, using visible landmarks to locate yourself, and retracing your route only when safe. If you cannot safely retrace it, seek help and stay put unless an immediate threat requires movement.
What Counts as a Reliable Landmark?
A useful landmark has three qualities: it is distinctive, it is fixed, and you can identify it again from another viewpoint. A large rock alone may be ordinary. A large split boulder beside a stream crossing, with a steep slope beyond it, is much better.
Before leaving a known point, look back. The view on the return trip is often surprisingly different. Notice the shape of a ridge, a fork in the path, a fence line, a road cut, or a unique stand of trees. Name the feature in plain language: “the trail crosses the creek just below the fallen pine.” A description you can repeat is more useful than a vague feeling that the place looks familiar.
Do not bet the trip on one clue. A creek can fork. A ridge can hide the next valley. Even a road may run the opposite way from the one you remember. Look for clues that agree with one another: the creek crossing, the steep bank beside it, and the trail sign you saw earlier. That is stronger than any one feature on its own.
Follow Known Routes, Not Promising Directions
If you are still on a recognized trail, road, or clearly marked path, that known route is usually more useful than an estimated compass direction. Record junction choices mentally: left at the bridge, straight past the clearing, right at the signed split. On the return trip, revisit those junctions in reverse order—but remember that a turn described as “left” on the outward journey will normally be “right” when you approach the same junction from the opposite direction. Recognize the junction itself before choosing.
At every junction, turn around and study the view you will actually see coming back. Note the trail width, slope, signs, and one unusual fixed feature. Ask: “Would I recognize this intersection from that direction?” If not, take another moment. A fork that seems obvious on the way out can be nearly invisible on the return.
Do not assume that following a stream downhill will eventually lead safely to people. Streams can enter gorges, waterfalls, marshes, private land, or impassable terrain. The same applies to power lines and railroad tracks: they may be recognizable features, but they are not automatic safe evacuation routes. Avoid entering restricted corridors or hazardous crossings.
Use the Sun as a Rough Clue, Not a Promise
In much of the United States, the sun generally rises on the eastern side of the sky and sets on the western side. That can help you maintain broad orientation over time, especially in open terrain. It cannot tell you your exact position, and its rising and setting points shift with season and latitude.
A brief glance at the sun is not enough to declare “that way is north.” Near midday, its position depends on your hemisphere and location; in dense forest, valleys, cloud, or changing terrain, visual estimates are especially weak. The familiar stick-and-shadow exercise can indicate an approximate east–west line when performed carefully over time on suitable ground, but it is not precise enough to justify an uncertain cross-country escape.
The sun can help you question a direction. It cannot tell you which trail leads to your car.
Terrain Tells You Where You Are—If You Already Know the Area
A ridge, valley, saddle, lake shore, or prominent hill can help you recognize a known landscape. The important distinction is between identifying terrain and guessing a destination. “This valley slopes toward the river I crossed this morning” is a testable memory. “All valleys lead to towns” is not.
If you can see a distinctive peak from a safe location, compare its shape with what you remember from the outward trip. Note whether it appears to your left or right and whether nearby slopes match. Do not climb an exposed ridge, enter unstable ground, or cross a swollen stream just to improve the view.
Fog can erase a ridgeline in minutes. Darkness makes two different junctions look like the same one. Snow can cover the very tracks you planned to follow. When the clues disappear, continuing to walk does not make your navigation better. It usually makes the next decision harder.
Backtracking Without Making Things Worse
A short backtrack can solve the problem. An open-ended search for something familiar can make it worse. Pick the exact feature you expect to reach—the fallen tree at the bend, for example—and set a firm limit before you move. If that feature is not where you expected, stop. Do not keep extending the search just because you have already walked this far.
Keep the last certain point in sight when possible. Turn around frequently and inspect the return view. If you find your original trail, verify it with another clue before following it. Footprints, broken twigs, and informal rock piles can be misleading, particularly where multiple people or animals have passed.
Keep the group together. Sending people in different directions creates several problems where you had one. Check for injuries and fatigue, then agree on a single next move.
When Staying Put Is the Better Navigation Decision
If you cannot identify a safe return route, staying in a reasonably safe place is often the strongest option. This is especially true when someone knows your intended route and return time. The National Park Service's trip-planning guidance tells lost people to remain in place unless an immediate threat requires movement.
Move only as necessary to escape a direct hazard such as rising water, falling debris, fire, or dangerous exposure. If you can reach emergency services, call and give your last confirmed location, intended route, nearby landmarks, injuries, and current conditions. In the United States, try 911 for an emergency; a voice call or text may work in some areas even when ordinary data service fails, but neither is guaranteed. If your phone displays coordinates or an offline map, report what it shows and explain how certain you are. Follow the dispatcher's instructions. Do not roam simply to chase a signal unless a responder directs you or staying presents an immediate danger.
Make yourself easier to find without using up the energy you need to stay safe. Use a whistle, bright clothing, or a contrasting item. Choose a visible location only if reaching it does not expose you to a fall, storm, fire, or other hazard. Protect yourself from cold, heat, and rain; assess water and daylight before they become urgent. Conserve phone battery and avoid repeated unnecessary calls. Once you have contacted rescuers, follow their directions rather than setting off again.
Practice the Skill Before You Need It
Choose a familiar park or short marked trail in good weather. Carry your normal navigation equipment even while practicing without looking at it. At each junction, describe the route aloud, study the reverse view, and name two fixed landmarks. After a short walk, predict what you will see on the way back. Then verify.
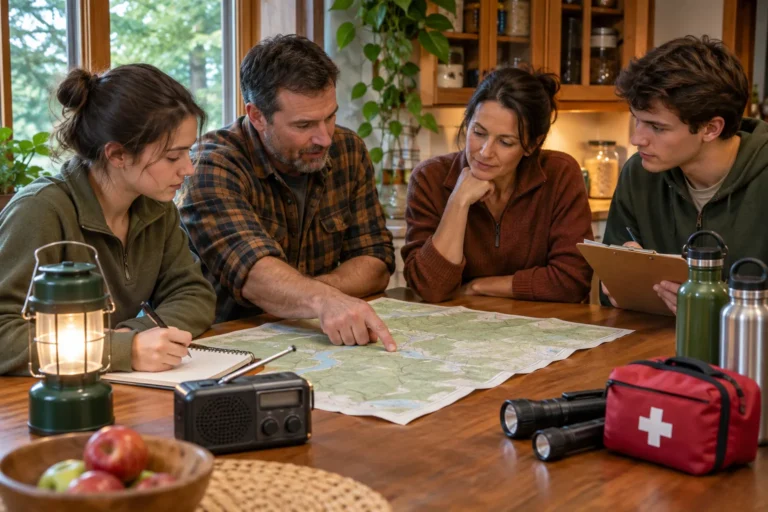
For a household drill, ask one person to describe a familiar route without street names: “past the brick building, across the footbridge, then uphill to the open field.” Have another person identify where the description becomes ambiguous. This reveals how quickly memory substitutes general impressions for useful detail.
The point of this drill is not to show off by hiking without a compass. It is to notice the moment a route stops being certain. Catch that moment early, and you still have options. Ignore it, and a simple wrong turn can become a search-and-rescue call.
Key Takeaways
You do not need to know which way north is to recognize the trail you walked in on. Study the return view at every junction. Remember fixed landmarks. Check one clue against another. And when you cannot verify the route, stop. A safe place to wait is often better than another mile in the wrong direction.
Step-by-Step Actions
- Stop immediately when the route no longer matches what you expected.
- Identify the last point where your location was certain.
- Observe fixed landmarks, terrain, and the route behind you.
- Backtrack only if a short, safe, recognizable route is available.
- Reassess at a defined point; do not extend a failed guess.
- If the route remains uncertain, choose a safe place to stay and signal or call for help.
- Move again only for a clear safety reason, verified route, or responder instruction.
Checklist
- I can name my last certain location.
- I can identify at least two distinctive fixed features.
- I have looked back at the route from the opposite direction.
- I am not treating the sun, a stream, or an informal marker as proof of a safe route.
- Any backtrack has a clear limit and a recognizable endpoint.
- My group remains together and injuries or exposure have been assessed.
- Someone knows my intended route and return time, or I have communicated my situation.
- If I cannot verify a safe route, I am prepared to stop, stay visible, and seek help.
Related Preparation and Sources
Carry the essentials listed in your emergency supplies checklist and keep backup lights and signaling supplies working through a regular maintenance review. Before your trip, complete the National Park Service trip-planning guide with a trusted contact and practice with a map and compass.