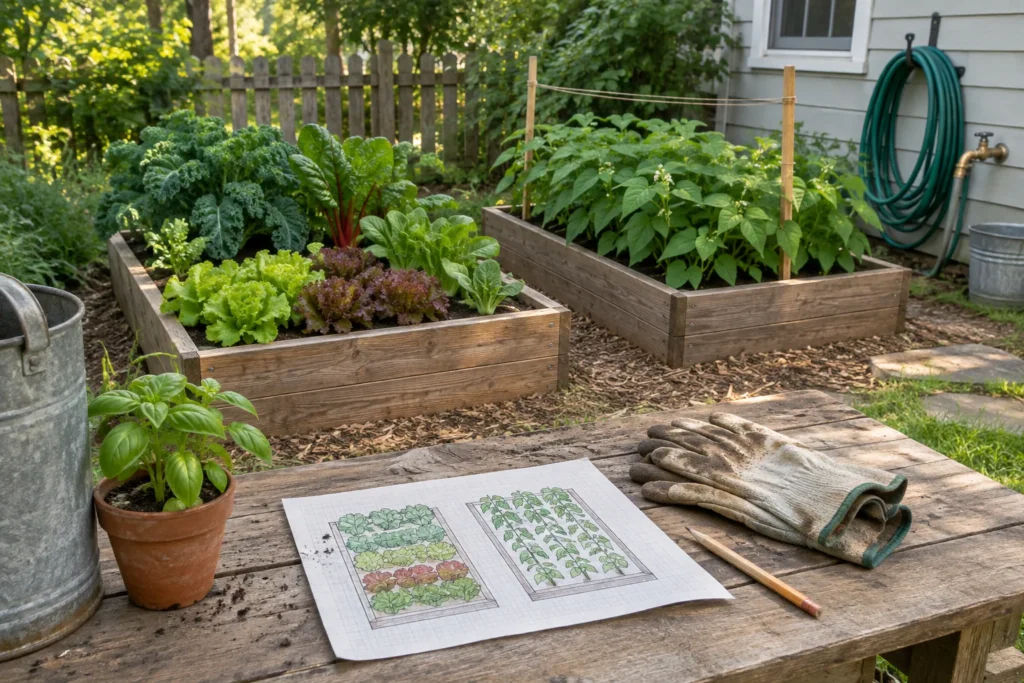
Garden planning for food security starts with a manageable bed, reliable water, and crops your household will use.
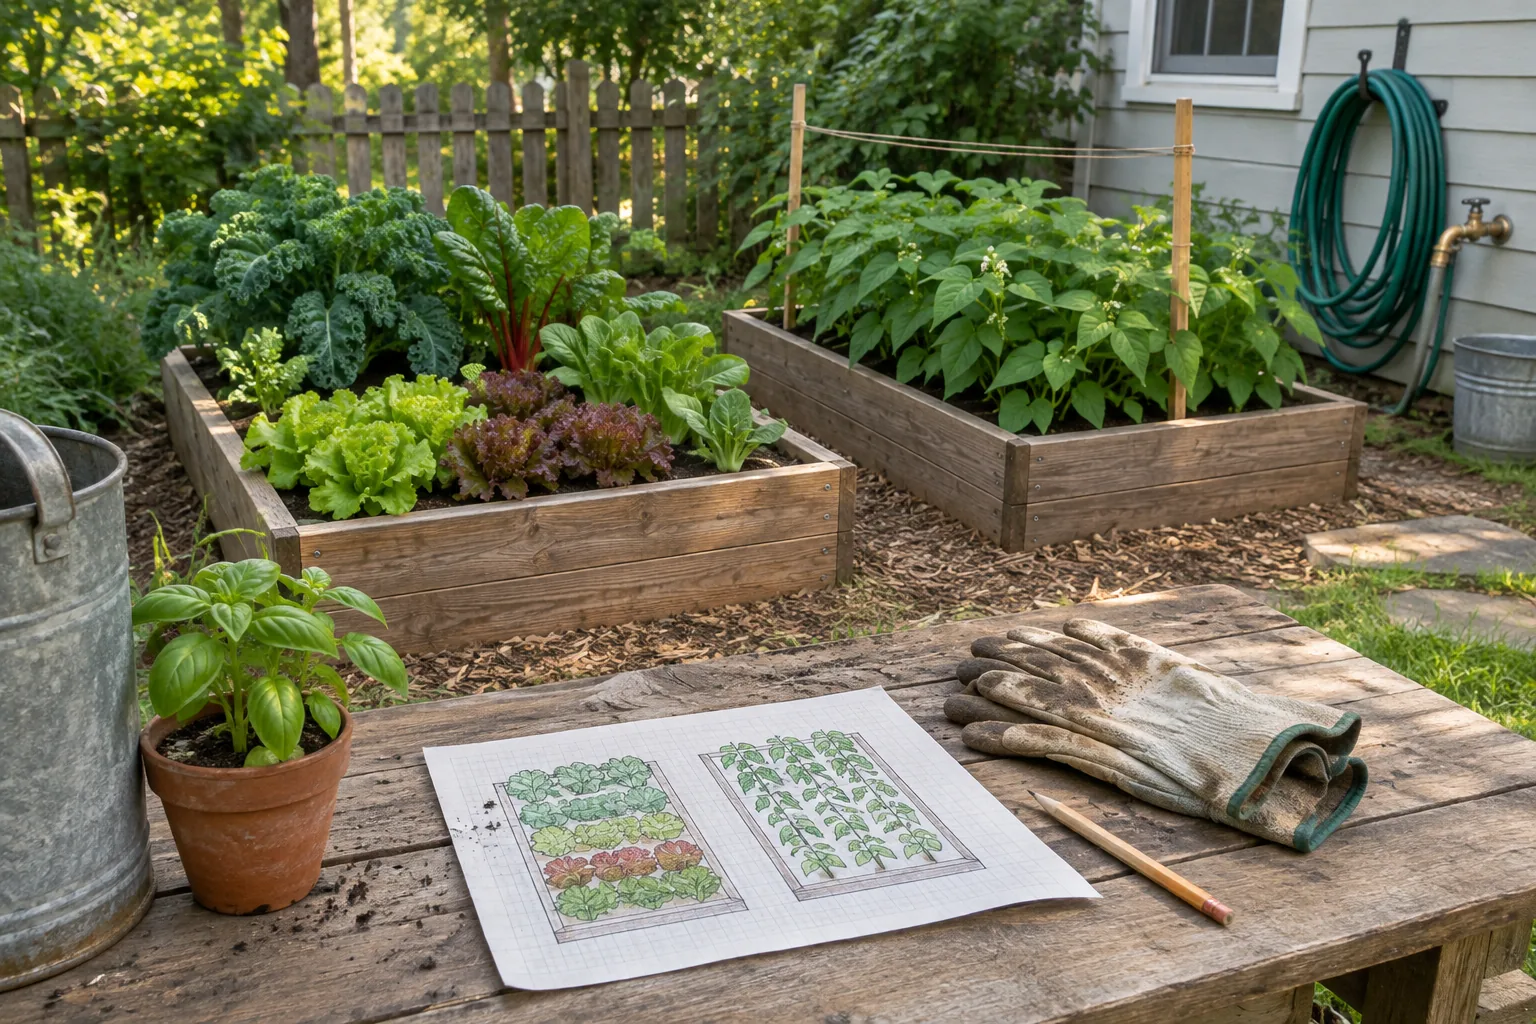
A garden can make a household less dependent on weekly grocery trips, but only if it produces food reliably. Seeds alone are not a food plan. The useful plan connects your available sunlight, soil, water, growing season, time, and kitchen habits to crops you can harvest and use.
Start with one bed you can manage. It is easier to learn from a few healthy rows of greens and beans than from a large plot you cannot keep watered or weeded. Keep your stored food and normal grocery plan in place. A first-year garden is a supplement, not a substitute for emergency supplies.
Garden Planning for Food Security: Set a Useful Goal
Write down five vegetables your household eats regularly. Then separate them into three jobs: fresh food for regular meals, crops you can harvest repeatedly, and crops you can store or preserve. Lettuce and herbs add freshness but few calories. Beans, potatoes, winter squash, and other substantial crops can contribute more to meals, although the space, season, and harvest will vary.
Choose crops that suit your climate and the way you cook. If nobody at home eats kale, growing six rows of it will not improve your food supply. Likewise, a small garden will not realistically provide every calorie a household needs. Its first job is to produce useful food without consuming all your spare time.
For a practical first season, choose three to five crops, not twenty. Try a leafy green for quick harvests, a warm-season crop your family uses, and a crop you can store if your climate and space allow. Beans may supply repeated harvests; potatoes or winter squash may offer more substantial meals but require suitable space and timing. Pick the actual varieties only after checking your local planting calendar.
Walk the Site Before You Buy Supplies
Spend a few days observing the yard. Note where direct sunlight falls in the morning, midday, and afternoon. Most fruiting vegetables perform best with roughly six to eight hours of direct sun. Leafy greens may tolerate less, though yields can suffer in deep shade. Remember that trees leaf out, shadows shift, and a sunny spot in March may be shaded in June.
Check where rainwater collects. Avoid low spots that stay saturated. Choose a location you can reach with a hose or watering can, not the farthest corner of the property. Put the garden where you will notice dry soil, pests, and ripe vegetables before they become problems.
If the soil has a history of industrial use, old painted structures, heavy traffic, dumping, or unknown fill, investigate contamination before growing food in it. A routine fertility test measures nutrients and pH; it does not necessarily test for lead, arsenic, or other contaminants. Ask your local extension office or environmental agency which specific tests fit the site's history. If growing in raised beds or containers, use verified clean soil and prevent contact with suspect underlying soil or dust. Do not assume that adding compost makes contaminated ground safe.
Measure the Real Growing Area
Draw the garden on paper. A four-by-eight-foot bed provides 32 square feet of growing surface. Two beds provide 64 square feet, before paths. That is enough to learn spacing, watering, pest pressure, and harvest timing without committing an entire yard.
Leave access for weeding and harvesting. If you cannot comfortably reach the middle of a bed from its edges, the bed is too wide for easy maintenance. Put tall crops and trellises where they will not shade shorter crops unnecessarily. Read each seed packet's mature spacing; crowded plants compete for light, air, and water, and cramped growth can worsen disease problems.
A simple map should show each crop, its mature spacing, the water source, walking paths, and the direction of the strongest sun. For example, a four-by-eight-foot bed may fit a short row of greens and a small section of bush beans, but not a sprawling squash vine plus several full-size tomato plants without a different layout. Check the packet's spacing before assigning square footage. Save room to change the map as plants grow.
Plan Backward From the Growing Season
Find your area's approximate last spring frost and first fall frost dates through a local extension service. These are averages, not promises. Then look at each crop's preferred soil temperature, frost tolerance, and days to maturity. The USDA hardiness zone helps describe winter cold, but it does not replace local frost dates or a vegetable planting calendar.
Cool-season crops such as peas, spinach, and lettuce often belong early or late in the season. Warm-season crops such as beans, tomatoes, and squash need appropriately warm conditions. Planting everything on the same spring weekend wastes opportunities and may expose tender plants to cold.
Use three dates for each crop: when to start seed or buy transplants, when to plant outside, and when harvest might begin. Check whether the packet's 'days to maturity' count starts from sowing or transplanting; that difference can shift your expected harvest by weeks. Leave a margin for slow germination, heat, rain, pests, or an unusually cool season. If a frost-sensitive crop is unlikely to finish before the first fall frost, choose a shorter-season variety or adjust the start date using a suitable method.
Give Water a Place in the Plan
Before planting, decide how you will water the bed during a dry week. If the only plan is to haul buckets from the far side of the property, fix that now.
Put water close to the plants, use mulch where appropriate to slow evaporation, and check moisture a few inches below the surface rather than judging only by its color. Newly sown seeds need suitable, fairly steady moisture for germination; established plants often benefit from watering that reaches the root zone, adjusted for crop, soil, and weather. As a planning estimate, many vegetable gardens need about an inch of water per week from rain and irrigation, sometimes more in heat; that is a starting point, not a fixed daily rule. One inch over a 4-by-8-foot bed is about 20 gallons before runoff or delivery losses. Containers can dry much faster than beds.
Do not assume floodwater, untreated wastewater, or chemically contaminated water is safe for edible crops. After a flood, treat contamination as a food-safety problem, not merely a watering problem. Your household's drinking and sanitation water needs take priority over keeping a garden alive during a serious supply shortage.
Build a Harvest Schedule, Not Just a Planting Schedule
Plant all your lettuce at once and you may have more than you can eat for a week, followed by none. A small second sowing later can extend the harvest. This is succession planting: use a bed again after a crop finishes, or sow smaller amounts at intervals while the season allows.
Picture a single bed in a climate with a long enough growing season. Peas occupy it in cool weather. Once they finish, you clear the vines and plant a short-season bush bean crop if the soil is warm and enough frost-free days remain. Later, a fall green or cover crop may fit. In a short-season climate, that second edible crop may not mature at all. Check the calendar before buying seeds for a three-crop sequence.
Keep a simple harvest record. Write down what you picked, how much your household used, and what went to waste. A crop that produces heavily but spoils before dinner is not necessarily the best use of limited space.
Know What the Garden Cannot Do
A small backyard garden is valuable for skills, fresh produce, and some food independence. It is not automatically a reliable emergency calorie supply. Bad weather, animals, plant disease, drought, and missed watering can wipe out a crop. Even a successful vegetable garden may produce very little dietary fat or protein.
If food resilience is the goal, keep a layered system: stored shelf-stable food, a practical cooking plan, a water plan, and gardening skills that improve each season. Preserve or store surplus only using tested food-safety methods appropriate to the crop. Harvest only what you can use or safely store; the rest is wasted work.
Garden equipment should also match the actual task. A hose, hand trowel, sturdy gloves, watering can, and basic digging tool can handle a modest start. Buy specialized tools only when the work demonstrates a need.
Use a Four-Week Setup Plan
Week one: observe sun and drainage, investigate soil safety, arrange any needed tests, identify your water source, and choose crops your household eats. Week two: draw beds and paths, check local planting dates, and buy only the seeds or transplants that fit the plan. Week three: prepare soil when it is workable rather than soggy, install necessary supports, and plant only crops whose timing is right. Week four: inspect plants daily for a few minutes, adjust watering, thin seedlings where required, and record what germinated. If soil-test results or planting weather are not ready, postpone planting rather than treating the four-week outline as a deadline.
This is a setup sequence, not an instruction to plant out of season. If the calendar says wait for warmer soil, use that week to prepare rather than forcing the crop into the ground.
When the First Plan Fails
Seeds fail to emerge: check soil temperature, moisture, planting depth, and seed age before replanting. Plants grow leaves but little food: check light, maturity, pollination, and excess nitrogen before buying more fertilizer. Leaves wilt: feel soil at root depth first; both dry soil and waterlogged, damaged roots can leave plants drooping. Animals eat seedlings: identify the likely animal and fit a barrier before replacing every plant. If the same problem repeats, change one condition at a time and record the result.
If nearly everything struggles, stop expanding. Find and fix the problem in one bed before repeating it across the yard.
Key Takeaways
Plan for food your household will actually use, not the largest possible garden. Match crops to sunlight, safe soil, reliable water, available space, and local planting dates. A small garden can strengthen food resilience, but it should complement stored supplies rather than replace them. Keep notes so next year's plan is based on results, not guesses.
Step-by-Step Actions
- List five vegetables your household eats and select three to five suitable first-season crops.
- Observe sunlight, drainage, soil history, and distance to water.
- Draw a modest bed layout with realistic crop spacing and access paths.
- Check local frost dates, soil-temperature needs, and crop maturity times.
- Schedule planting, follow-up sowings, and expected harvests.
- Prepare workable soil, plant at the appropriate time, and monitor moisture.
- Record harvests, losses, and the changes you will make next season.
Checklist
□ Crops selected for household meals □ Sunlight and drainage checked □ Soil tested or contamination risk addressed □ Water source and watering method identified □ Beds, paths, and plant spacing drawn □ Local frost dates and planting windows checked □ Seeds or transplants matched to the season □ Follow-up planting and harvest dates recorded □ Basic tools and crop protection available □ Harvest record started □ Stored emergency food plan remains in place
Related Guidance and Sources
Keep your garden alongside a reliable 72-hour food and supplies reserve and add garden equipment checks to your household maintenance schedule. For crop selection, site layout, and local support, consult University of Maryland Extension’s garden planning guide; see University of Minnesota Extension’s watering guidance for irrigation planning.